
A problem with the SMUG digitizer is that it has no contrast control. Everything shows up as black or white with no shading. Consequently, in order to display certain details of your subject, you must blast others into deep black oblivion. Each picture you keep is a compromise of trying to show as much detail without making everything a even shade of jet black.
John McMichael has the solution. He has produced a video texturizer (shader) program, VIDEOTEX, for the SMUG digitizer. The main feature of VIDEOTEX is that it generates a master video file of thirteen screens, each grey-scaled slightly darker than the previous one. This way you can view and print shaded pictures.
The program comes on cassette in two parts, BASIC and CODE. The BASIC section contains all the SAVE and LOAD routines and can be easily modified to suit any disk system. To run it, it is assumed that you have already set up your digitizer per the instructions supplied by SMUG. After you have done this you will never need to use the software supplied with the digitizer again, VIDEOTEX is all you need.
Once you have loaded both sections, the menu presents itself. The first thing to do is to set the brightness. Press the brightness adjust key and the program will start showing the first and last scan screens of your capture. If you are using a tv camera, you can vary conditions by changing the camera aperture and/or how much light is on the subject. If you are using a vcr then you may have to alter the brightness setting on the digitizer board itself. Once you are satisfied with the brightness, press any key to return to the main menu.
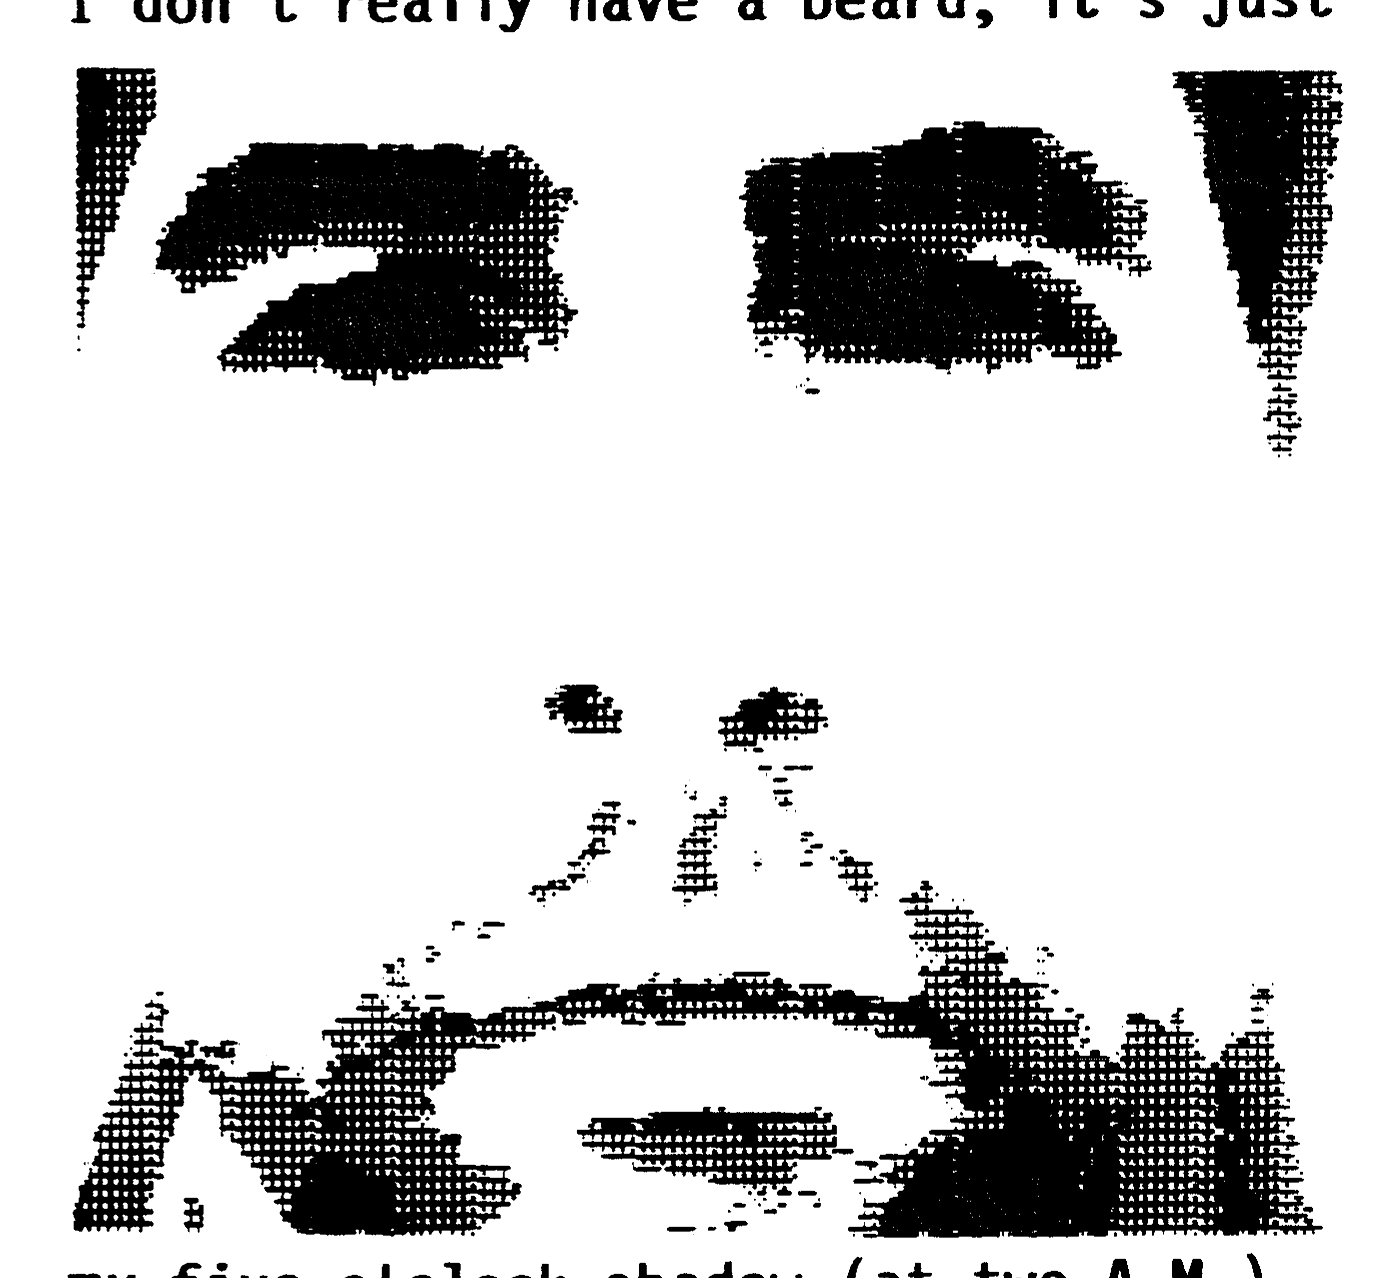
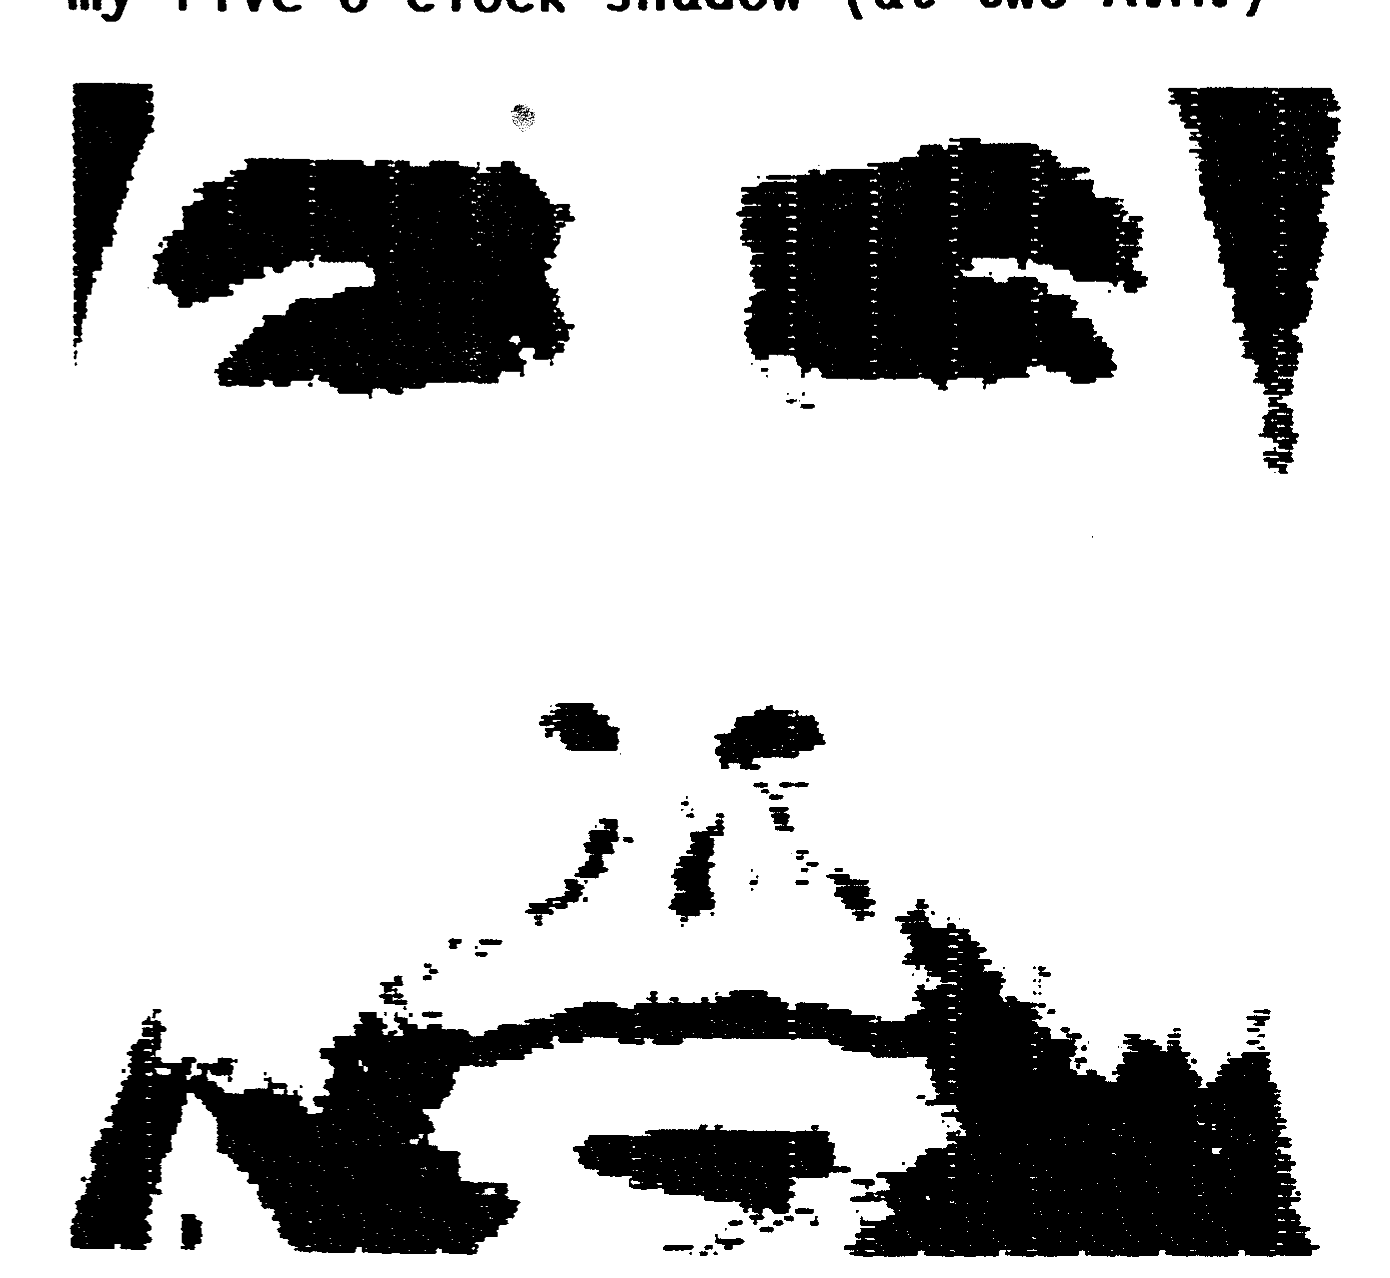
You are now ready to capture your master video file. Press the “C” key and you are given the option of either running the four-scan capture automatically or with a pause after each scan. Usually you choose the automatic mode. The four scans take about a minute and then your are returned to the main menu. At this point you can either view your captured video file or save it. To view it, simply press “V” and you are then shown one of the thirteen grey-scaled screens. To see the next screen simply press the “5” or “8” key to move through the file. At any time you can print an individual screen on the 2040 printer or save a screen to disk or tape. See a few samples on the preceding page. Pressing “R” returns you to the main menu where you can save the whole file or if you have already saved one, load in a new master file.

Another feature is the ability to overlay one picture on another. this requires some careful manipulation of your screens.
The individual screen saves can also be imported into programs like Art Studio where you can further refine the end product before you print them.
Version 1.5 is an upgrade from John’s original 1.0 and now includes automatic filtering to remove unwanted individual dark pixels. Video files saved from v1.0 can be imported into this version for “cleaning-up”.
For anyone who has invested in the digitizer, this is a “must-have” program. It is simple to operate and the documentation clearly explains each step of the process.
For more information contact John McMichael, 1710 Palmer Drive, Laramie, Wyoming 82070.